Project 1: Oil Based Marbling on Paper and Canvas
When you’ve been homeschooling long enough you find that there are activities that you really enjoy doing with your kids. In my home school, with an 11 year old, I figure our time is limited, so I have us doing exactly those things we like doing. What do I mean by limited? Well, I never know when these days are going to change. When will this whole homeschooling adventure end? I’m never sure. So, I feel like each homeschooling day is really a gift. It’s a gift because I know these kids are all growing up and moving out. I’ve actually seen it with my 20 and 22 year olds. They don’t stay young and little and curious forever! They move on. And, at some point, they join their own kind…they merge in with others of their own generation. Kids, like baby chicks, eventually mature and join the hens in the larger flock. When they join the flock, they aren’t interested in all the art and the experiments and the nature walks. At that point, you’ve done your job and they lift off into the great blue skies. So, I savor these days like a mamma chicken taking a sunny dirt bath on a winter day.

Raw art we enjoy and I’m making more time for it this year. Enter paper marbling…
We’re on a mission to try every feasible way to marble paper.
Vivid color and texture were the original goals with these projects. But, as we learned with the shaving cream approach, the muted bubbly prints are nice too. Either way, with paper marbling, the process is where the excitement is.
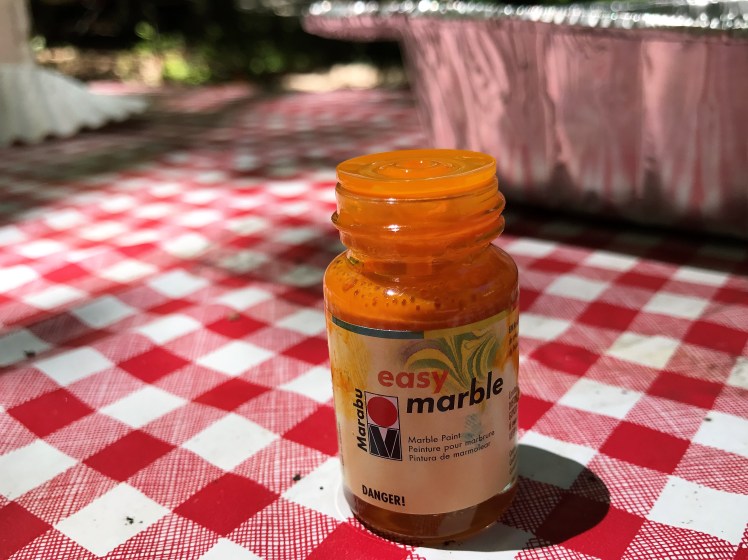
Project one: Marbling with Easy Marble paint. I grabbed three tiny bottles of these marble paints from Blick’s Art Supply. At $2.75 a bottle, this wasn’t too expensive for several rounds of printing. We printed onto card stock, drawing paper and mini canvases and I still have about 1/3 of a bottle left in each. The oil based Easy Marble paints printed magnificently brilliant.
Here are the basic directions:
Get a disposable tray. I recycled one from a recent buffet.
Have your paint bottles nearby.
gloves
water color paper or canvas for printing
Tip: You have exactly 30 seconds from the time you drop the color onto the water’s surface to print. In fact, the sooner, the better. Otherwise, the paint dries into a glob.

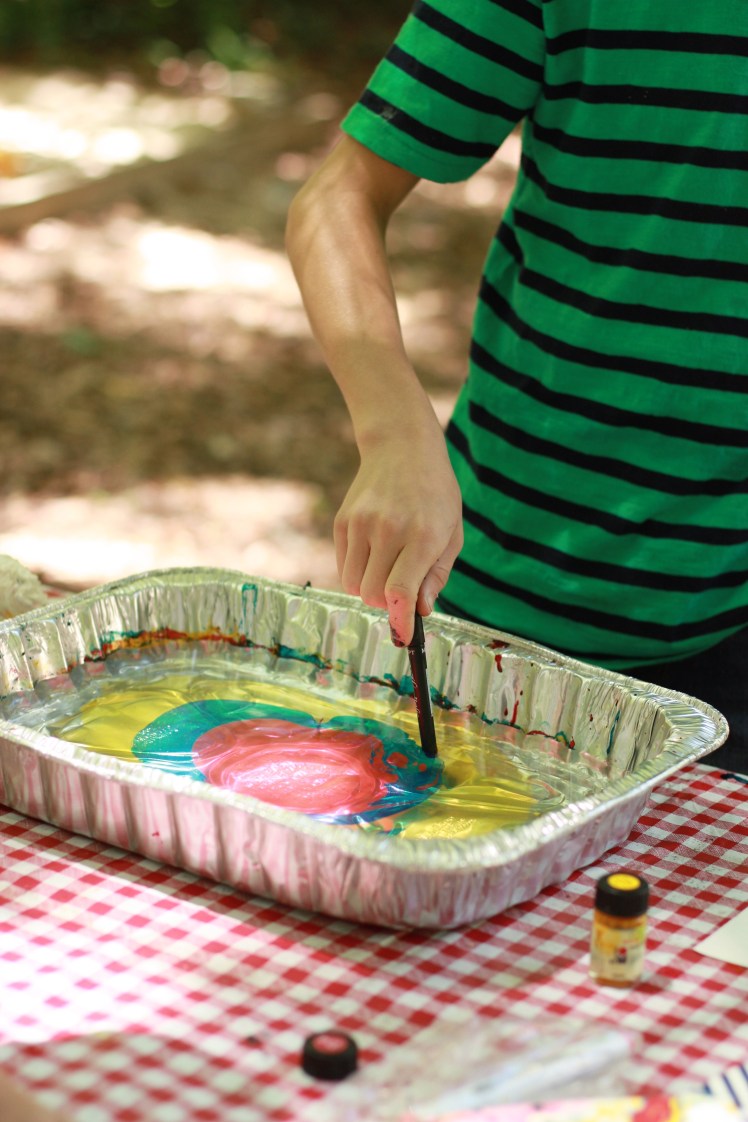
Fill your tray with a couple inches of water. Now, this next step is where all the talent comes in… shake three or four droplets of paint from each bottle onto the surface of the water. Gently stir or swirl with a stick and let your inner artist escape! Your heavy paper will pick up this design and each one is totally unique!
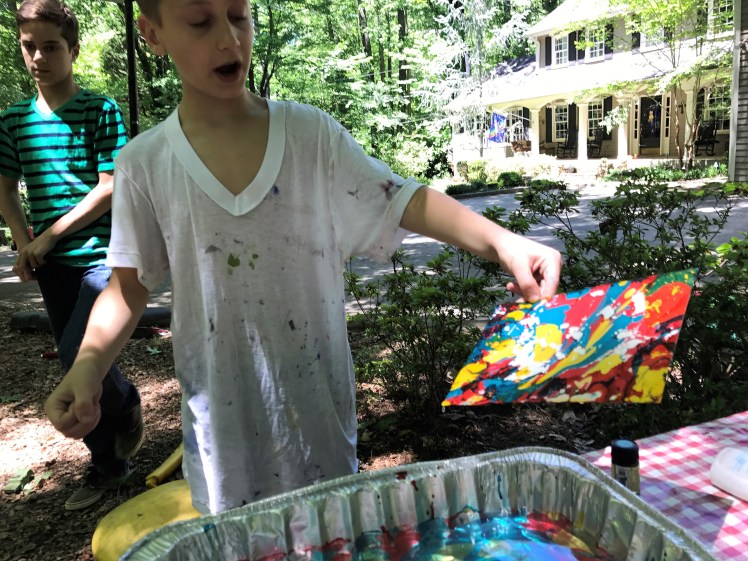
We dropped the paint onto the water, stirring gently to swirl. Next, we carefully placed the clean paper directly down onto the surface being careful to make complete contact with as much paint as possible. The paper was lifted directly up and A LA Peanut Butter Sandwiches! Marbled paper! It was that simple and the ahhhh’s were worth any effort that was made to set this little deal up.


In Project 2, you’ll see the results of our crazy shaving cream marbling adventure! It started calm and ended wild!


Love this article. Thanks for the step-by-step instructions. I might be able to employ these techniques in some of my artwork for my dollhouse creations.Thank you!
LikeLiked by 1 person
I love the playfulness of my great nephews!! The article is great also. 🙂
LikeLiked by 1 person